When it comes to selling your home, first impressions matter. But what if you could not only impress potential buyers but also increase your property’s market value? The solution lies in making smart, high-impact renovations that appeal to today’s discerning homebuyers.
Whether you’re planning to sell soon or making updates in preparation for the future, this blog will help you pinpoint the most valuable home improvements to focus on. From revamping your kitchen to enhancing your home’s curb appeal, we’ll show you how these upgrades can maximize your return on investment (ROI). Plus, we’ll include tips to ensure your renovations are budget-friendly and eco-conscious.
If you’re a homeowner searching for ways to increase resale value or looking for a renovation company in Vancouver, this guide is for you.
Why Focus on Home Renovations Before Selling?
Investing in home improvements isn’t just about making your home look great; it’s also about getting the best possible price at resale. Buyers want homes that feel “move-in ready” without requiring additional work. With the right updates, you can meet buyer expectations while standing out in a competitive market.
According to the National Association of Realtors, certain upgrades offer a substantial ROI. That means you can often recoup a significant portion of your renovation costs when selling. Let’s look at which home improvements are proven to deliver the best bang for your buck.
1. Kitchen Renovations Are Worth Every Penny
The kitchen is often referred to as the heart of the home, and buyers agree. Studies show that kitchen upgrades can recoup up to 60-80% of their cost, making it one of the most valuable home improvements you can make.
What to Focus On:
- Cabinets and Countertops: Replace outdated cabinets or simply reface them for a cost-effective refresh. Update countertops with durable materials like quartz or granite for a polished look.
- Modern Appliances: Stainless steel appliances are a favorite among buyers. Consider energy-efficient models for an eco-friendly edge.
- Lighting: Swap out old fixtures for modern pendants or LED under-cabinet lighting to brighten the space.
Pro Tip: Keep it neutral. A simple, clean design has broader appeal and increases the likelihood that buyers will envision themselves in the space.
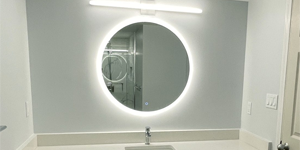
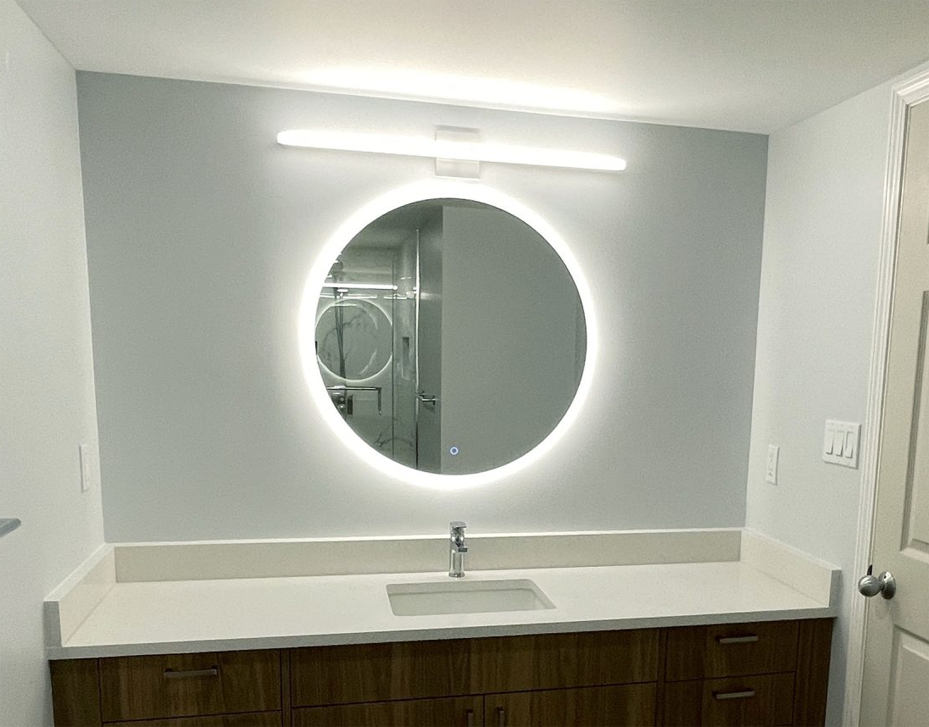
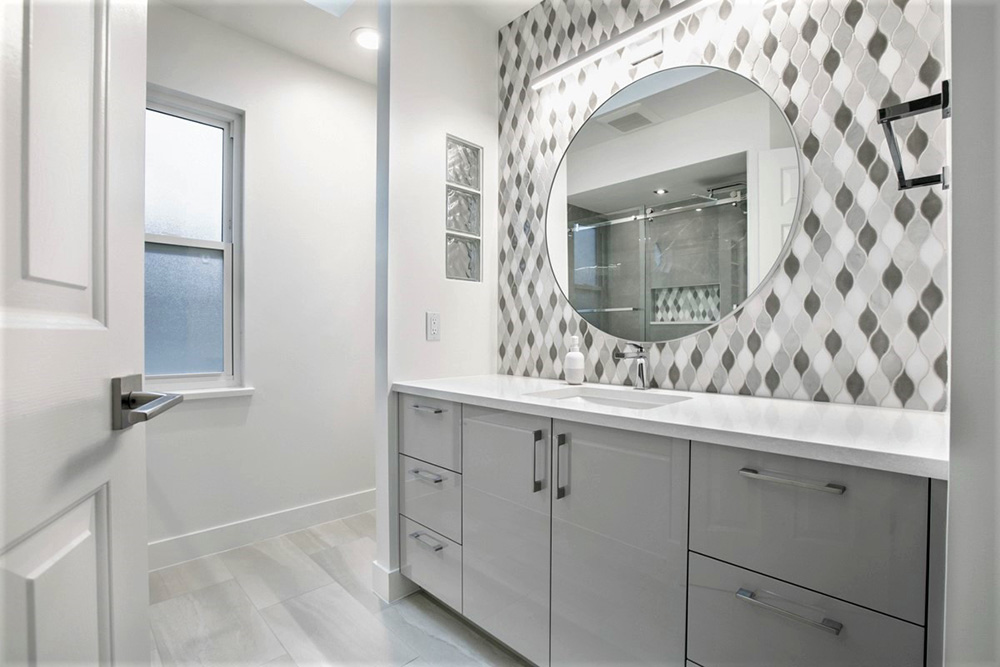
2. Bathroom Remodels Add Luxury for Less
A chic, functional bathroom is a strong selling point. Buyers want a spa-like experience at home, and even small changes can make a big impact.
Budget-Friendly Upgrades:
- New Fixtures: Replace faucets, showerheads, and drawer pulls for an instant refresh.
- Tile Updates: Retile the floor or shower with neutral, modern designs that appeal to a wide audience.
- Double Vanity: If space allows, a double vanity is a buyer favorite and can enhance functionality.
Adding value doesn’t have to mean gutting your entire bathroom. Small investments like modern lighting or even painting the vanity can bring in noticeable returns.
3. Revamp Flooring for an Instant Impact
Worn carpets or outdated linoleum can turn off potential buyers. Flooring is one of the first things they notice, so replacing it can set the tone for your home.
Buyer-Approved Options:
- Hardwood Flooring: Classic, durable, and universally loved, hardwood can deliver over 75% ROI.
- Luxury Vinyl Plank (LVP): Affordable and waterproof, LVP has become a popular alternative for bathrooms and kitchens.
- Carpet Replacement: If carpeting is necessary (such as in bedrooms), make sure it’s new, clean, and in neutral tones.
Pro Tip: If hardwood isn’t in your budget, consider laminate or engineered wood for similar appeal at a lower cost.
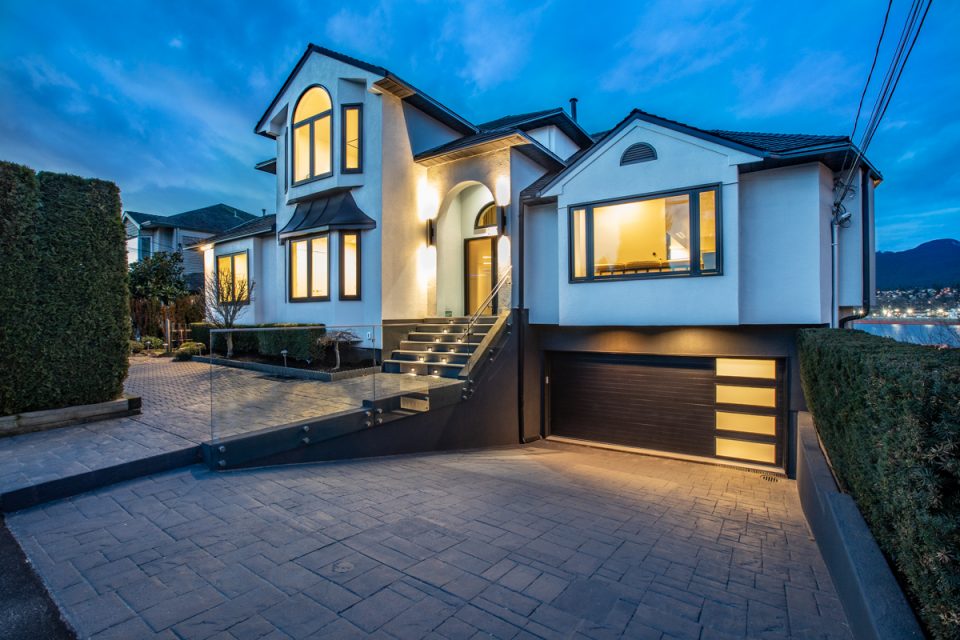
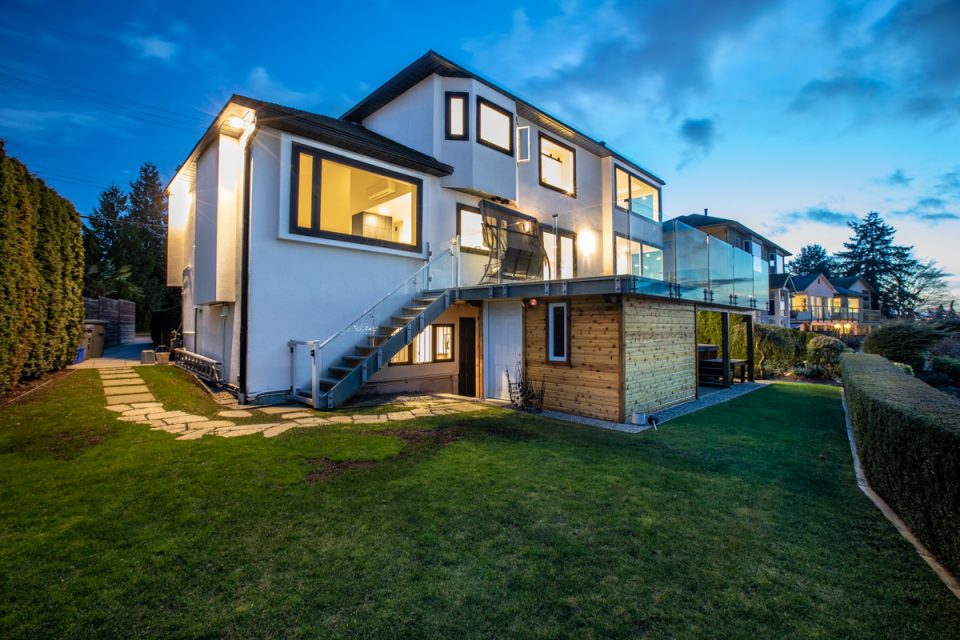
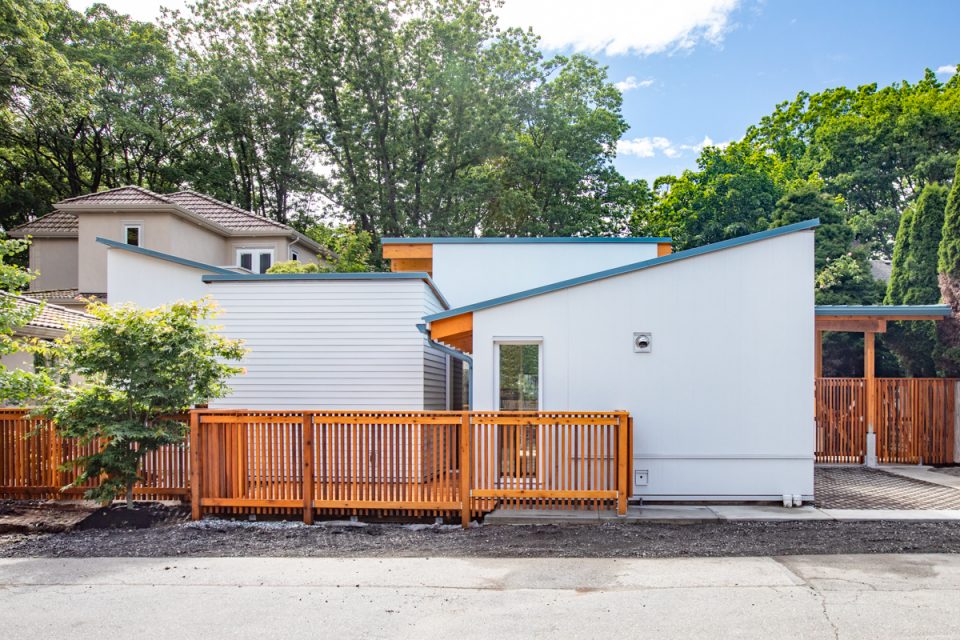
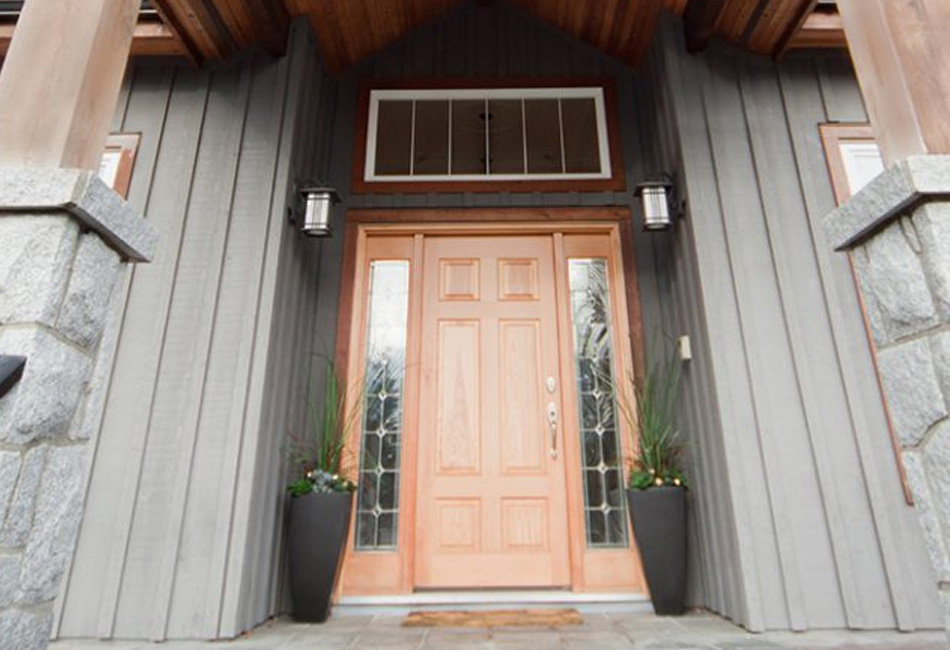
4. Enhance Curb Appeal to Create a Great First Impression
Everyone knows the importance of a warm welcome. Your home’s exterior is the first thing buyers see, and making it inviting can boost your resale value.
Curb Appeal Boosters:
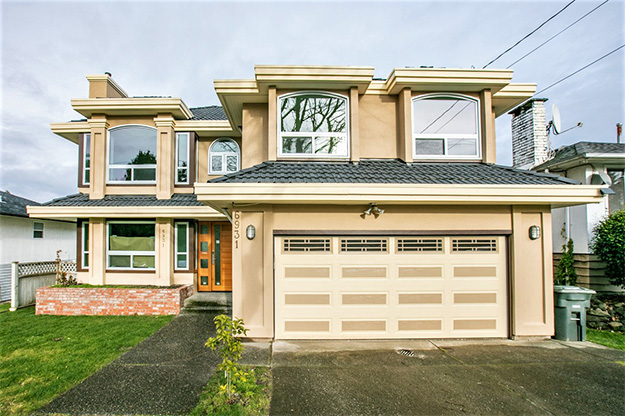
- Fresh Paint: A new coat of exterior paint can make your home look brand new. Opt for neutral shades combined with a bold front door color for a modern touch.
- Landscaping: Trim bushes, plant flowers, and ensure the lawn is green and trimmed. Low-maintenance landscaping is especially attractive to buyers.
- Lighting: Add outdoor lighting to highlight pathways and entryways for a warm, welcoming effect.
Pro Tip: Don’t forget the roof! A clean or recently replaced roof can eliminate buyer concerns and add instant value.
5. Green Upgrades That Appeal to Modern Buyers
Today’s buyers care about sustainability and energy efficiency. Integrating eco-friendly home improvements can appeal to environmentally conscious buyers while reducing long-term utility costs.
Smart Green Upgrades:
- Windows and Insulation: Energy-efficient windows and proper insulation can dramatically reduce heating and cooling costs.
- Solar Panels: Installing solar panels can be a big draw, especially in eco-friendly markets.
- Smart Home Features: Smart thermostats, lighting, and security systems add convenience and energy-saving potential.
Not only are these upgrades attractive to buyers, but they also often come with tax incentives or rebates.
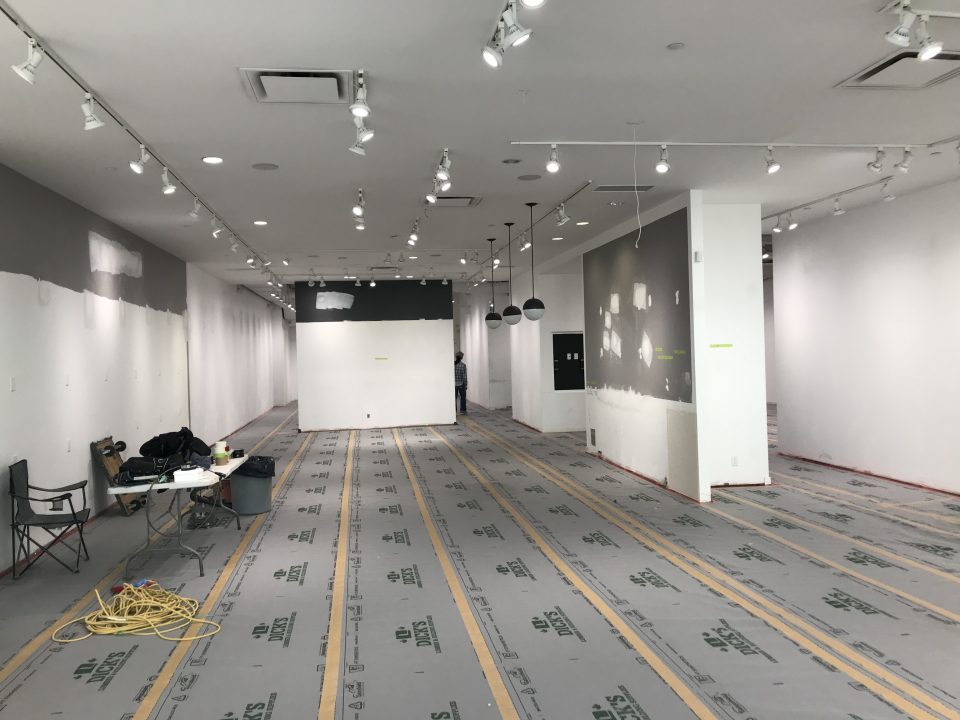
The Role of a Renovation Company
No matter where you are in your remodeling process, partnering with a reliable renovation company can ensure your updates are high-quality and aligned with market trends. Experienced renovators can guide you through everything from material selection to finishing touches, maximizing your investment while minimizing your stress.
At Canadoo Enterprises, we specialize in creating cost-effective, eco-friendly home renovations that add value and market appeal. Whether you’re updating a single room or revamping your entire home, we’re here to help.
Start Small, Dream Big
Home improvements don’t have to break the bank. Strategic, high-value updates can make your home more desirable to buyers and help you achieve a higher selling price. Whether it’s a modern kitchen, a fresh coat of paint, or energy-efficient upgrades, these changes can also elevate your own living experience while you prepare to sell.
Need help figuring out which updates are right for your home? Contact a trusted renovation company in Vancouver Canadoo Enterprises to transform your property into one buyers can’t resist.