One of the first questions homeowners ask when planning a renovation is:
“How long will my renovation take?”
The answer depends on many factors, including the size of the project, the complexity of the design, availability of materials, permit requirements, and the contractor managing the work.
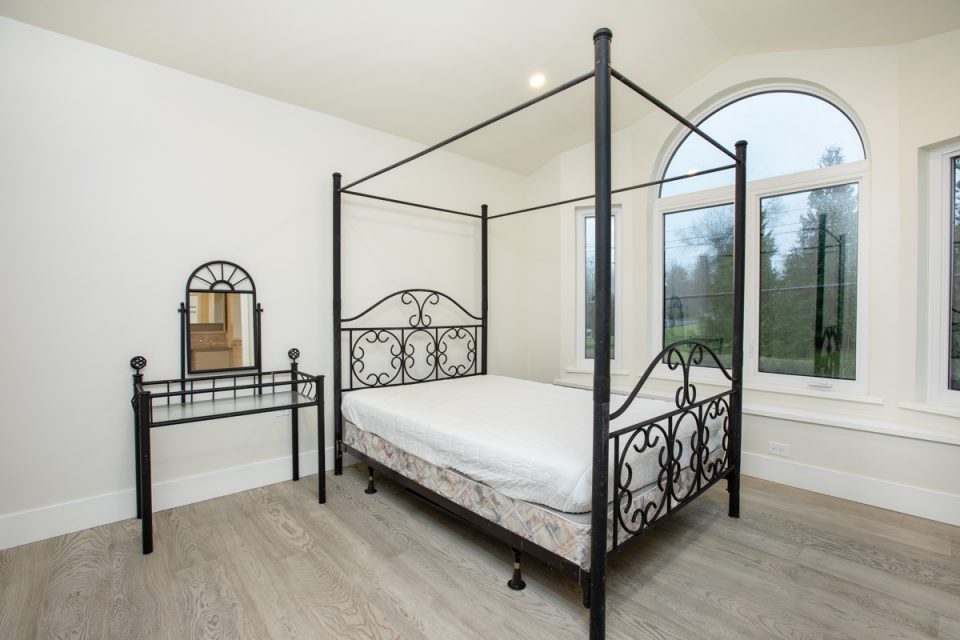
A small bathroom update may take only a few weeks, while a complete home renovation can take several months or longer.
Understanding the typical renovation timeline can help you plan your budget, prepare your home, and set realistic expectations before construction begins.
Average Home Renovation Timelines
Every renovation project is unique, but here are typical timelines for common residential renovation projects:
| Renovation Project | Average Timeline |
|---|---|
| Bathroom renovation | 4-8 weeks |
| Kitchen renovation | 8-16 weeks |
| Basement renovation | 8-20 weeks |
| Home addition | 4-9 months |
| Full home renovation | 6-12+ months |
These timelines typically include construction time only. The design, planning, material selection, and permit process can add additional weeks or months before work begins.
Factors That Affect How Long a Renovation Takes
1. Project Size and Scope
The biggest factor affecting your renovation timeline is the size of the project.
A simple cosmetic update, such as replacing flooring, painting, or installing new fixtures, can often be completed quickly.
However, projects involving structural changes, plumbing, electrical upgrades, or major layout changes require significantly more time.
For example:
Cosmetic renovation:
- Painting
- Flooring replacement
- Cabinet refinishing
- Fixture upgrades
Typical timeline:
2–6 weeks
Major renovation:
- Removing walls
- Moving plumbing
- Electrical upgrades
- New kitchen layout
- Structural modifications
Typical timeline:
3–12+ months
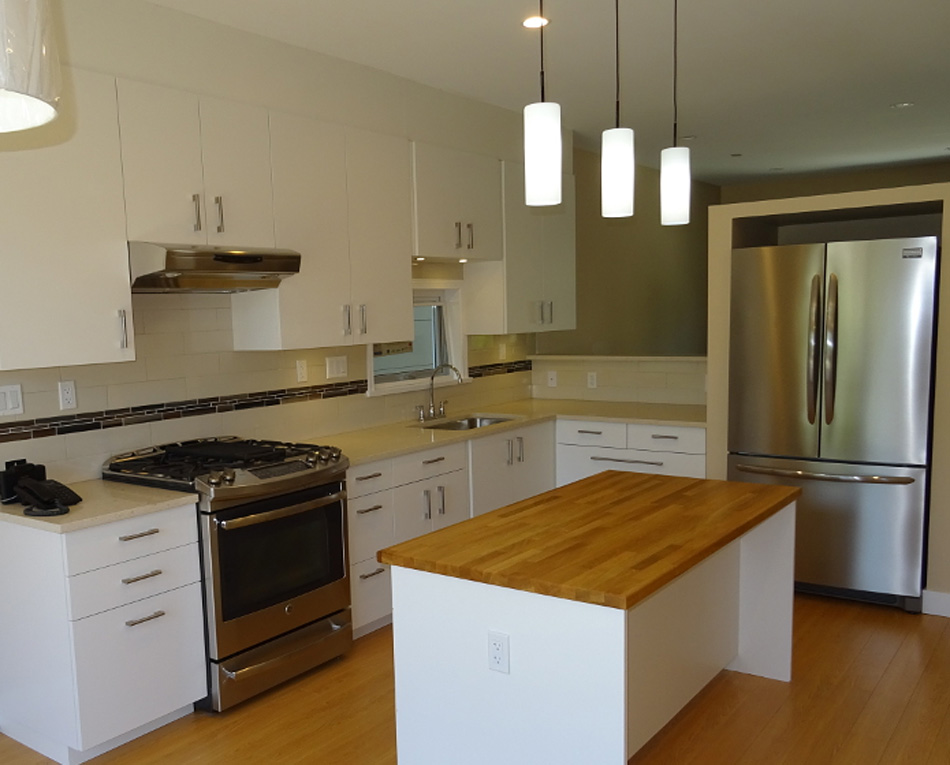
How Long Does a Kitchen Renovation Take?
Kitchen renovations are among the most popular home improvement projects, but they can also be one of the most complex.
A typical kitchen renovation takes:
8–16 weeks
The timeline may include:
Design and Planning (2-8 weeks)
Before construction begins, homeowners need to finalize:
- Kitchen layout
- Cabinet design
- Countertop selection
- Flooring
- Appliances
- Lighting
- Finishes
Good planning helps prevent delays later.
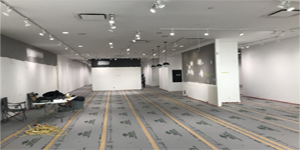
Demolition (1-2 weeks)
This includes:
- Removing old cabinets
- Removing countertops
- Taking out flooring
- Preparing the space for construction
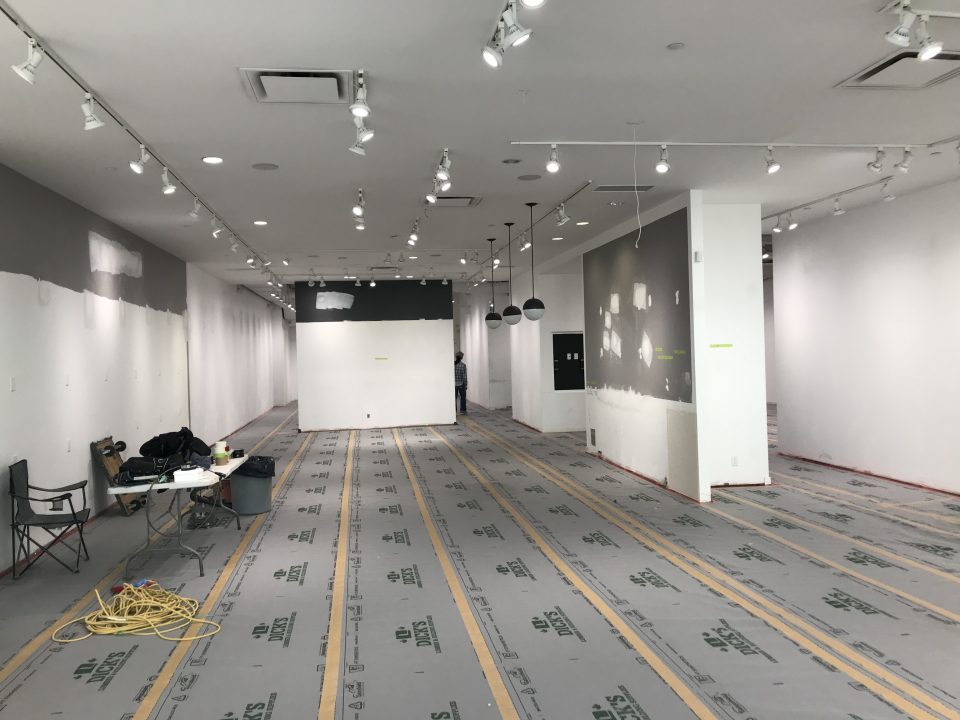
Installation (6-12 weeks)
This phase may include:
- Electrical work
- Plumbing adjustments
- Cabinet installation
- Countertop installation
- Flooring
- Backsplash
- Painting
- Final finishing work
A custom kitchen with high-end materials may take longer.
How Long Does a Bathroom Renovation Take?
A bathroom renovation usually takes:
4-8 weeks
The timeline depends on whether you are updating finishes or completely rebuilding the space.
A typical bathroom renovation includes:
- Demolition
- Waterproofing
- Plumbing work
- Electrical upgrades
- Shower or bathtub installation
- Vanity installation
- Tile installation
- Painting
- Final fixtures
A simple bathroom refresh may be completed faster, while a luxury bathroom renovation with custom tile work and layout changes may take several months.
How Long Does a Basement Renovation Take?
Basement renovations typically take:
8-20 weeks
Basement projects often involve more preparation because contractors may need to address:
- Moisture issues
- Insulation
- Framing
- Electrical
- Plumbing
- HVAC
- Flooring
- Drywall
If you are creating a legal basement suite, additional time may be required for permits, inspections, and code requirements.
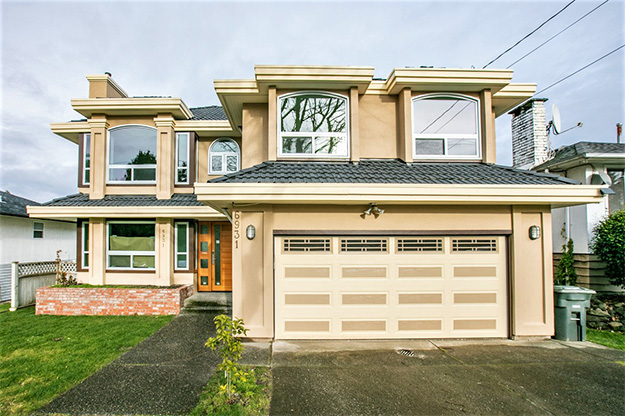
How Long Does a Full Home Renovation Take?
A whole-home renovation is one of the most involved projects a homeowner can undertake.
Typical timeline:
6-12+ months
A full renovation may include:
- Kitchen remodeling
- Bathroom upgrades
- Flooring replacement
- Electrical updates
- Plumbing improvements
- Interior redesign
- Structural changes
- New finishes throughout the home
Older homes often require additional work once walls and floors are opened, which can extend the timeline.
The Renovation Planning Process
Many homeowners underestimate the time required before construction begins.
A successful renovation typically includes several stages:
1. Initial Consultation
Your contractor will review:
- Your goals
- Budget
- Timeline expectations
- Design ideas
- Existing home conditions
2. Design and Planning
This stage includes:
- Creating plans
- Selecting materials
- Finalizing layouts
- Getting estimates
Depending on the complexity, this can take several weeks.
3. Permits and Approvals
In Vancouver and surrounding areas, many renovations require permits, especially when changing:
- Plumbing
- Electrical systems
- Structural components
- Room layouts
Permit timelines vary depending on the project.
4. Construction
Once planning is complete, construction can begin.
Having a detailed schedule helps coordinate:
- Trades
- Material deliveries
- Inspections
- Final finishing work
Common Reasons Renovations Take Longer Than Expected
Even well-planned projects can experience delays.
Common causes include:
Material Availability
Special-order items such as:
- Custom cabinets
- Windows
- Flooring
- Specialty fixtures
may have longer lead times.
Unexpected Issues
Once walls are opened, contractors may discover:
- Old wiring
- Plumbing problems
- Water damage
- Structural concerns
- Hidden repairs
Design Changes
Changing decisions during construction is one of the most common reasons renovations fall behind schedule.
Examples:
- Changing cabinet designs
- Selecting different flooring
- Modifying layouts
- Adding new features
Finalizing decisions early helps keep the project on track.
Permit Delays
Permits and inspections are necessary for many renovations and can affect scheduling.
How to Keep Your Renovation on Schedule
While some delays are unavoidable, homeowners can help keep projects moving by:
1. Plan Before Construction Starts
Finalize:
- Design choices
- Materials
- Fixtures
- Finishes
before work begins.
2. Choose an Experienced Renovation Contractor
A professional contractor will help coordinate:
- Trades
- Materials
- Scheduling
- Inspections
This reduces delays and improves project efficiency.
3. Communicate Regularly
Regular updates between homeowners and contractors help identify issues early and keep everyone aligned.
4. Build a Realistic Timeline
A quality renovation takes time. Rushing construction can lead to:
- Poor workmanship
- Mistakes
- Costly repairs
Should You Move Out During a Renovation?
Whether you should stay in your home depends on the project.
You may be able to stay during:
- Small bathroom renovations
- Cosmetic updates
- Single-room projects
Moving out may be easier during:
- Full home renovations
- Major kitchen renovations
- Projects involving plumbing or electrical shutdowns
Consider:
- Noise
- Dust
- Access to bathrooms and kitchen
- Safety
So, how long does a home renovation take?
The timeline depends on the size and complexity of your project:
- Bathroom renovation: 4-8 weeks
- Kitchen renovation: 8-16 weeks
- Basement renovation: 8-20 weeks
- Full home renovation: 6-12+ months
The key to a successful renovation is proper planning, realistic expectations, and working with an experienced renovation contractor.
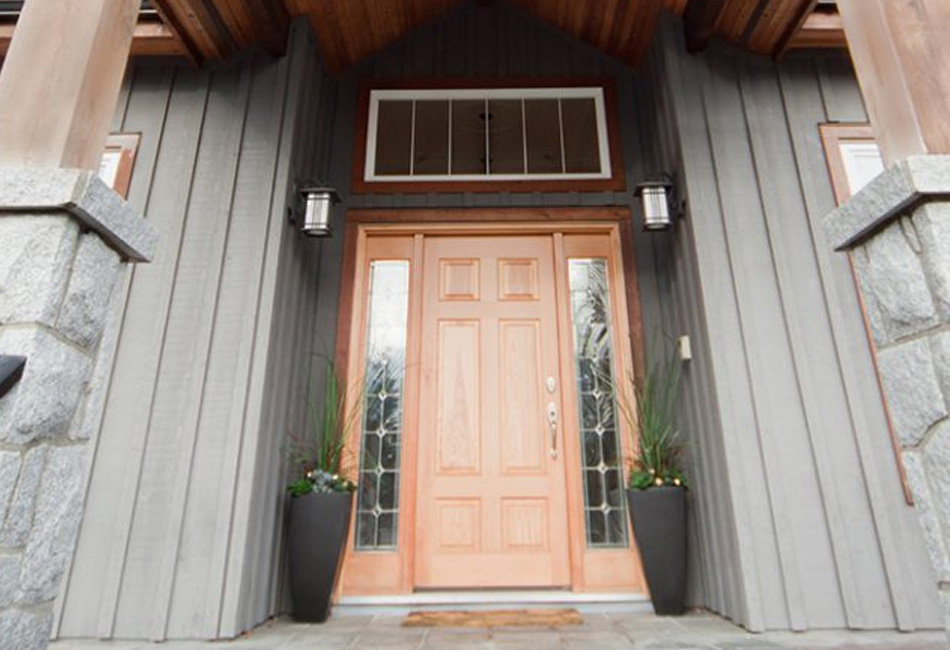
At Canadoo, we help homeowners throughout Vancouver transform their homes through thoughtful design, quality craftsmanship, and professionally managed renovation projects. From kitchens and bathrooms to complete home renovations, our team can guide you through every stage of the process.
Contact Canadoo today to discuss your renovation project and create a timeline that works for your home.