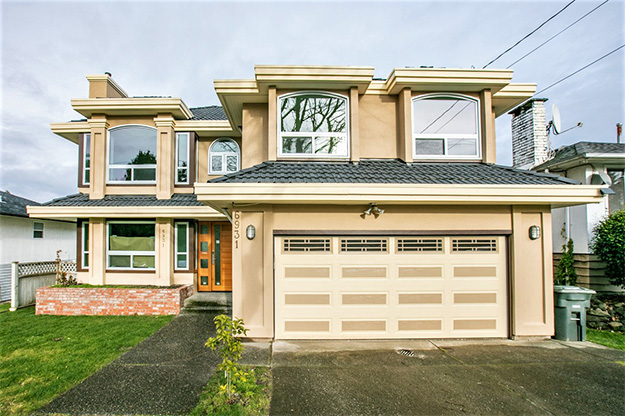
Your kitchen is the heart of your home. Whether you’re whipping up weeknight dinners, hosting friends, or helping kids with their homework, you need a space that meets your family’s everyday needs. If your kitchen feels cramped, outdated or just plain uninspired, it might be time for a renovation.
In fact, a recent report from the Appraisal Institute found that kitchen renovations have the best return on investment for homeowners, often paying back 75% of their costs when the home is sold.
From stylish cabinets to smart storage solutions, here are the top kitchen renovation ideas that will not only transform the functionality of your kitchen, but also make it a stylish place for your family to gather.
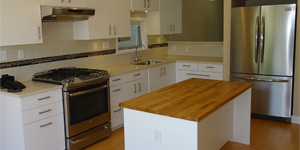
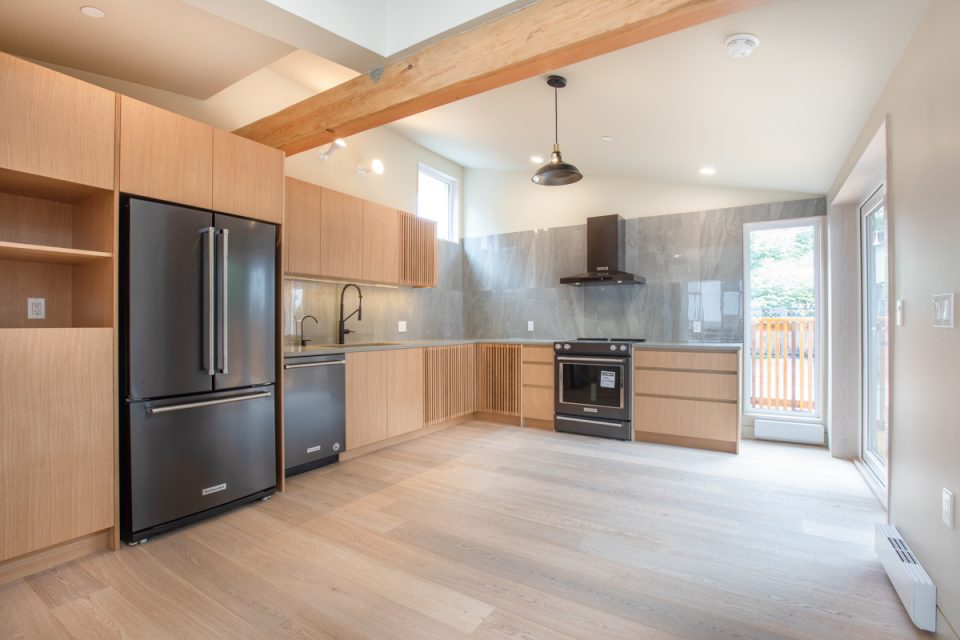
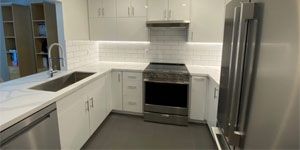
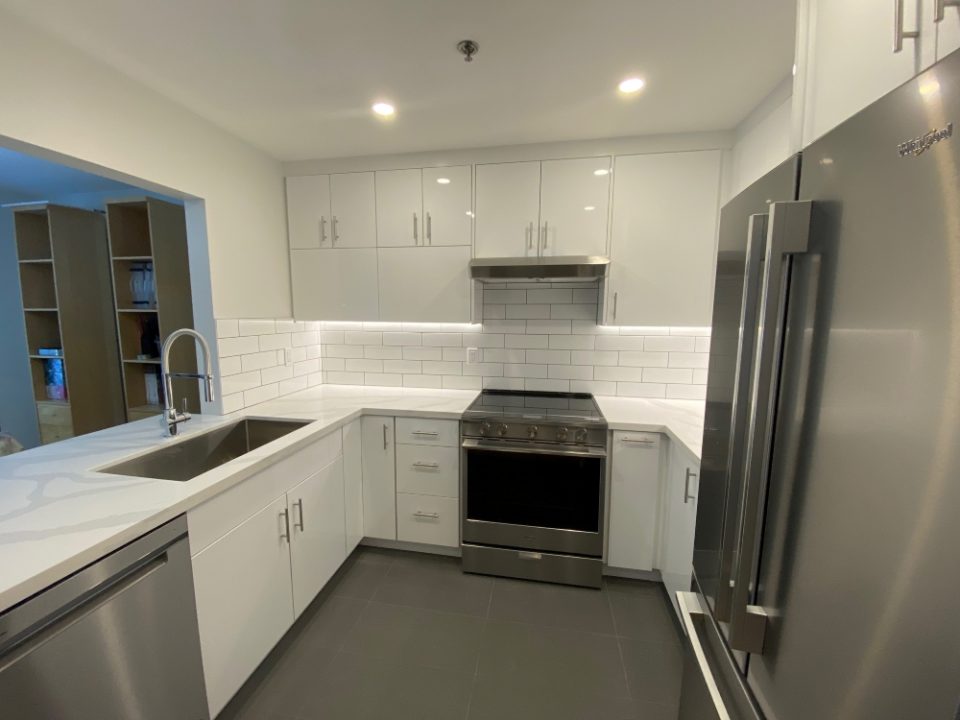
Transform Your Kitchen with Stylish Cabinets
Cabinets are one of the first things people notice about a kitchen. If they’re old, chipped or outdated, they may make your entire kitchen look worn out. But they also take up a lot of visual space, so new cabinets can have a big impact on the overall feel of your kitchen.
A popular kitchen renovation trend that has really taken off in the last few years is white cabinetry. This simple change can make a kitchen feel bigger and brighter. You can further enhance this effect by painting the walls a light colour, like pale grey or soft blue.
If your kitchen is small or dark, you can add more light and space with glass-front cabinets. This allows you to display your beautiful dishes and glassware, while also giving the illusion of a larger space.
Update your kitchen with stylish cabinets that match your home’s style. The best part? Many cabinet makers now offer environmentally-friendly options, so you can renovate sustainably too!
Upgrade to Energy-Efficient Appliances
Another smart way to increase your kitchen’s value is by upgrading to energy-efficient appliances. These modern machines not only reduce energy consumption, which is great for the environment, but they can save you money on your utility bills too.
When shopping for new appliances, look for the Energy Star label. This indicates that they meet energy efficiency guidelines set by the U.S. Environmental Protection Agency. You’ll find a range of options, from refrigerators and dishwashers to ovens and cooktops.
In addition to being better for the environment and your wallet, many energy-efficient appliances come with advanced features that make them easier to use. For example, some smart fridges can help you keep track of expiration dates, while energy-efficient dishwashers are quieter and more effective at cleaning.
Create More Space with Smart Storage Solutions
If you love to cook, you know that a cluttered kitchen can quickly become a frustrating (and unsafe) kitchen. One of the most effective kitchen renovation ideas is to create smart storage solutions that keep your kitchen organized and tidy, while still being easy to access.
Consider installing pull-out shelves or deep drawers in your cabinets. Unlike traditional shelves, which can make it hard to access items at the back, these options allow you to easily see and reach everything.
Overhead cabinets are another great option for maximizing space. If you’re worried about them making your kitchen feel smaller, choose open shelving instead. This gives you easy access to your most-used items, while also creating a light, airy feel.
Brighten Up with New Lighting
Often overlooked in kitchen renovations, lighting is an important element that can change the entire atmosphere of your space, not to mention its functionality.
Many modern kitchen designs incorporate three different types of lighting. Ambient lighting, such as recessed lights or pendant lights over the island, provides overall illumination. Task lighting, like under-cabinet lights, helps you see better while chopping vegetables or reading recipes. Accent lighting, often used to highlight artwork or architectural features, adds a touch of style and warmth.
Don’t forget about natural lighting too! If your kitchen doesn’t have many windows, consider adding a skylight or larger window. You’ll be amazed at how much brighter and more inviting your kitchen feels with just a bit more sunlight.
Add an Island for Extra Prep Space and Seating
If your kitchen layout allows it, adding a central island is one of the most effective kitchen renovation ideas you can implement. Not only does it provide extra counter space for food prep, but it can also serve as a casual dining area for your family.
When designing your island, think about what will work best for your family’s needs. A simple rectangular shape is perfect for smaller kitchens, while a larger, L-shaped island with seating may be more suitable for bigger spaces. Be sure to include electrical outlets for small appliances, such as blenders and toasters.
A decorative lighting fixture hanging above the island can create a warm and inviting atmosphere, making it a great spot for family meals or homework sessions.
Choose Durable (And Stylish) Flooring
Another often-overlooked aspect of kitchen renovations is flooring. While you want your new floor to look great, it also needs to stand up to the wear and tear of daily life.
One popular option for kitchen flooring is vinyl plank. It’s waterproof, scratch-resistant, and surprisingly comfortable to walk on. Plus, it comes in a wide variety of colours and styles, including options that mimic the look of hardwood or tile.
If you prefer a more natural material, consider using bamboo or cork. Both are renewable resources that offer unique designs and textures. If well maintained, they can last for years and provide a warm, inviting feel to your kitchen.
Incorporate Sustainable Elements
An increasing number of homeowners are looking for ways to make their kitchens more sustainable, and there are many innovative materials that can help you do just that.
Recycled glass countertops are a popular option. Not only do they look beautiful, but they are also incredibly durable and resistant to scratches and stains.
Another great choice for eco-conscious homeowners is bamboo. This renewable resource can be used for everything from cabinets to flooring, and it looks great too!
Consider using low-VOC paint for your cabinetry and walls. This type of paint emits fewer harmful chemicals than traditional options, making it a healthier choice for your family and the environment.
Personalize with Unique Backsplashes
Backsplashes may seem like a small detail in kitchen renovations, but they can have a big impact on the overall look and feel of your kitchen.
Tile is a popular choice for backsplashes, and today, homeowners can find an endless variety of colours, shapes, and patterns. From classic subway tiles to intricate mosaics, you can create a truly unique design that reflects your personal style.
For a more modern look, consider using materials like stainless steel or glass. They’re easy to clean and can add a sleek, contemporary touch to your kitchen.
If you’re feeling adventurous, get creative with a custom-painted or reclaimed wood backsplash. Not only are these options eye-catching, but they also tell a story about your home.
Enhance Functionality with Open Shelving
Open shelving is a growing trend in kitchen renovations. It not only looks stylish, but it also makes it easier to access everyday items like dishes and cooking utensils.
When designing your open shelving, consider using materials that match your kitchen’s overall aesthetic. For instance, if you have a rustic farmhouse kitchen, wood shelves would look great. Conversely, sleek metal shelves would work well in a modern kitchen.
Make sure to display items that are both beautiful and functional. Mixing in cookbooks, decorative bowls, and plants can add warmth and personality to your kitchen while keeping it organized and tidy.
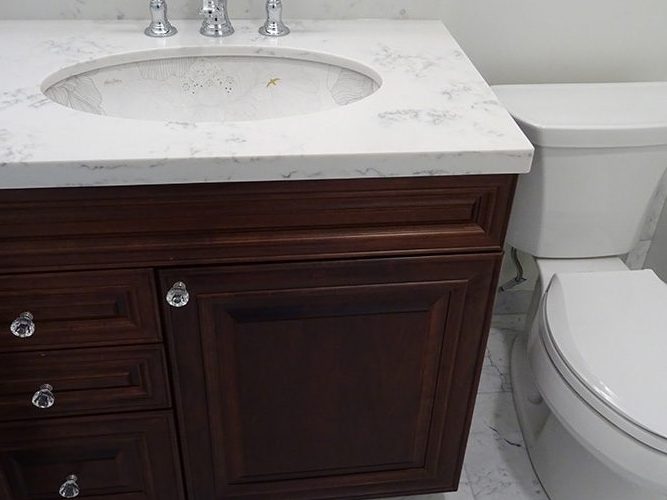
Upgrade Your Sink
Sinks are one of the most-used features of any kitchen, but they’re often overlooked in renovations. Upgrading your sink, or even just its faucet, can improve your kitchen’s functionality and style.
For a simple yet effective upgrade, consider replacing your standard faucet with a modern pull-down or pull-out model. These styles make washing large pots and pans easier, while also adding a contemporary touch to your kitchen.
If you’re ready for a more substantial change, think about installing a farmhouse sink. These deep sinks not only look great, but they also provide ample space for washing dishes, filling pots, and even soaking dirty baking sheets.
Invest in Smart Technology
Smart technology has made its way into kitchens, and for good reason. Not only does it make cooking and entertaining easier, but it also adds a modern touch to your kitchen.
Consider investing in smart appliances that can be controlled via your smartphone or voice assistant. Smart refrigerators can help you keep track of what’s inside, while smart ovens can be preheated remotely.
You might also want to install smart lighting that can be adjusted based on the time of day or your mood. Some systems even allow you to control the lighting with your voice, adding an extra level of convenience.
Make it Your Own
While all these ideas are great ways to update your kitchen, the most important thing is to create a space that reflects your personal style and meets your family’s needs. Consider what’s working (or not working) in your kitchen right now, and build from there.
Don’t be afraid to mix and match different styles and materials. A well-designed kitchen often includes a combination of modern and traditional elements that come together to create a unique, inviting space.
And remember, a beautiful kitchen isn’t just about aesthetics. It’s also about functionality. Make sure to choose features that will make your daily cooking and dining experiences easier and more enjoyable.
Renovating your kitchen can seem like a daunting task, with many details to consider and decisions to make. But by focusing on a few key areas, you can create a space that is not only functional and efficient, but also stylish and inviting.
Whether you’re starting from scratch or just making a few updates, there is a wide range of kitchen renovation ideas to help you achieve your dream kitchen. From stylish cabinets and energy-efficient appliances to smart storage solutions and stunning backsplashes, these updates will transform the heart of your home into a space you’ll love for years to come.
If you’re planning a kitchen renovation in Vancouver, consider hiring a professional contractor to help bring your vision to life. They can guide you through the process, ensuring that all your ideas are seamlessly integrated into the final design.
With the right planning and a bit of creativity, you can create a kitchen that meets your family’s needs, reflects your personal style, and adds value to your home.