Living in Vancouver means embracing our unique climate – beautiful but often cloudy. With an average of only 1,938 hours of sunshine per year, making the most of natural light in your home isn’t just about aesthetics; it’s about creating a healthier, more inviting living space that combats those gray Pacific Northwest days.
At Canadoo, we’ve spent nearly three decades helping Vancouver homeowners transform dark, dreary spaces into bright, welcoming homes. Whether you’re in a heritage house in Kitsilano, a condo downtown, or a family home in Burnaby, these renovation strategies will help you maximize every ray of natural light.
Why Natural Light Matters in Vancouver Homes
Before diving into renovation solutions, it’s worth understanding why natural light is so valuable:
- Improves mood and mental health during long, rainy winters
- Reduces energy costs by decreasing reliance on artificial lighting
- Makes spaces feel larger and more open
- Increases home value and market appeal
- Enhances color accuracy in interior design
- Supports better sleep cycles through natural circadian rhythm regulation
Strategic Window Replacements and Upgrades
Choose the Right Window Style
Not all windows are created equal when it comes to light transmission. Consider these options:
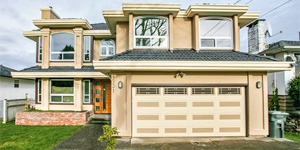
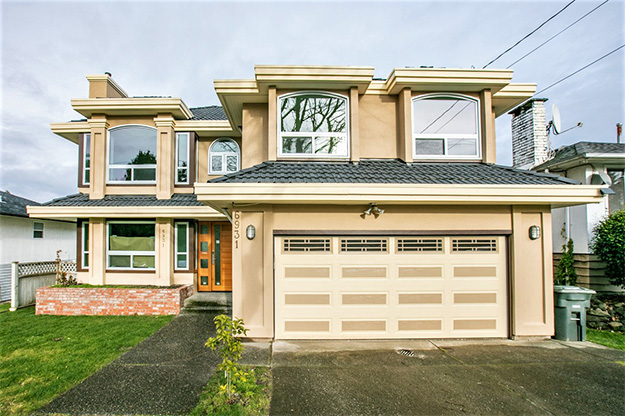
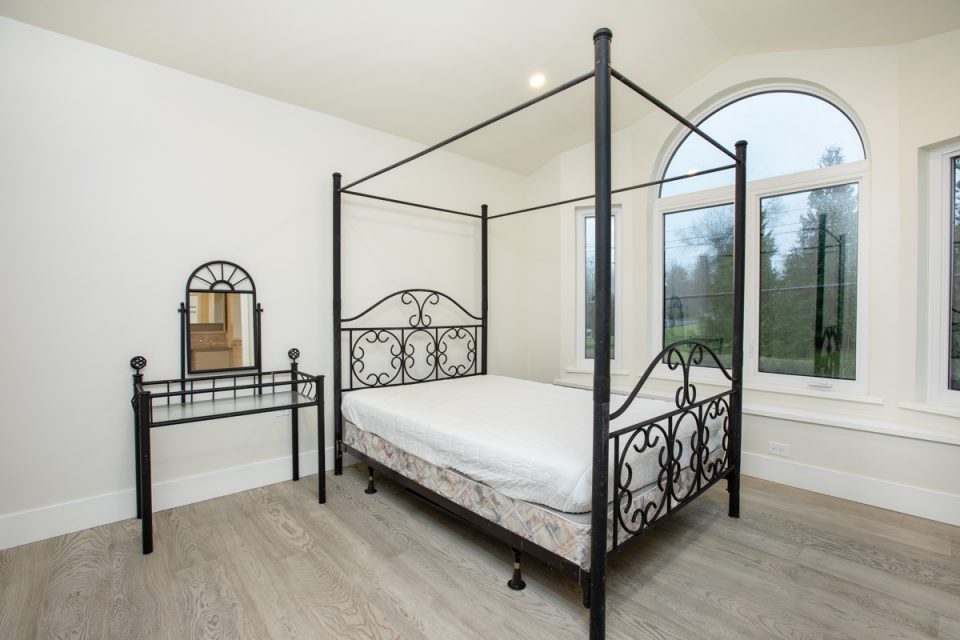
Floor-to-Ceiling Windows: Perfect for living rooms and dining areas, these dramatic windows can flood your space with light. In Vancouver’s temperate climate, modern triple-pane glass provides excellent insulation while maximizing transparency.
Bay and Bow Windows: These extend beyond your exterior wall, capturing light from multiple angles. They’re ideal for north-facing rooms that receive less direct sunlight.
Picture Windows: Large, fixed panes without dividers allow maximum light penetration. Combine them with operable casement windows on either side for ventilation.
Corner Windows: Where two walls meet, corner windows eliminate the visual barrier and create stunning light corridors, perfect for Vancouver’s mountain and ocean views.
Window Placement Strategies
South-Facing Opportunities: In the Northern Hemisphere, south-facing windows receive the most consistent sunlight throughout the year. If you’re planning an addition or major renovation, prioritize southern exposure.
Clerestory Windows: These high-mounted windows are excellent for bringing light deep into your home while maintaining privacy – perfect for bathrooms or homes close to neighbors.
Transom Windows: Installing windows above doorways allows light to flow between rooms, particularly effective in hallway renovations.
Glass Selection Matters
Work with your renovation contractor to select the right glass:
- Low-E coatings reduce heat loss without significantly affecting light transmission
- Clear glass maximizes light but may require window treatments for privacy
- Larger panes with fewer mullions reduce visual obstruction
- Energy-efficient triple-pane windows are essential for Vancouver’s climate while maintaining brightness
Skylight Installation: Bringing Light from Above
Skylights are game-changers for Vancouver homes, especially in spaces where wall windows aren’t practical.
Best Locations for Skylights
- Kitchens: Illuminate work surfaces and create a connection to the outdoors
- Bathrooms: Natural light makes morning routines more pleasant and reduces moisture issues
- Hallways and stairwells: Often the darkest areas in a home
- Home offices: Natural overhead light reduces eye strain and boosts productivity
- Bedrooms: Wake up naturally with morning light (consider blackout shades for flexibility)
Skylight Types for Vancouver Homes
Fixed Skylights: Most affordable option, ideal for high ceilings or hard-to-reach locations.
Vented Skylights: Can be opened for ventilation, perfect for Vancouver’s humid climate to reduce condensation and improve air circulation.
Tubular Skylights (Sun Tunnels): Excellent for smaller spaces like closets, powder rooms, or interior hallways. These reflective tubes channel sunlight from your roof to spaces that would otherwise require artificial lighting all day.
Solar-Powered Skylights: Feature built-in shades and rain sensors that close automatically – ideal for Vancouver’s unpredictable weather.
Important Skylight Considerations
- Ensure proper flashing installation to prevent leaks (critical in rainy Vancouver)
- Choose skylights with high energy-efficiency ratings
- Consider automated shades for temperature and light control
- Work with experienced installers familiar with Vancouver building codes
Interior Design Solutions That Amplify Light
Color Palette Choices
Your color scheme dramatically affects how light behaves in your space:
- White and off-white walls reflect up to 80% of available light
- Light gray tones add sophistication while maintaining brightness
- Soft pastels reflect light while adding subtle color
- Glossy finishes on walls and ceilings bounce more light than matte
- Light-colored flooring (maple, ash, or light oak) reflects upward light
Reflective Surfaces and Materials
Strategically place reflective elements to multiply natural light:
Mirrors: Position large mirrors opposite or adjacent to windows to double the perceived light. In narrow hallways, a full-length mirror wall can transform the space.
Glass and Acrylic: Use glass tabletops, acrylic chairs, and transparent accessories that don’t block light flow.
Metallic Accents: Polished chrome, brushed nickel, and brass fixtures reflect and scatter light beautifully.
High-Gloss Tiles: In kitchen and bathroom renovations, choose glossy backsplashes and large-format tiles that create light-reflecting surfaces.
Open Concept Renovations
Removing non-load-bearing walls allows light to travel throughout your home:
- Kitchen-living room combinations let window light flow freely
- Glass-paneled interior doors maintain separation while allowing light passage
- Half-walls or pony walls with glass panels preserve some division without blocking light
- Open shelving instead of closed cabinets prevents light obstruction
Door Replacements for Enhanced Brightness
Don’t overlook doors in your light-maximizing renovation:
Front Doors with Glass Panels: Modern designs with sidelights or transoms add curb appeal while illuminating entryways.
French Doors: Perfect for connecting interior spaces or opening to patios, these allow maximum light flow.
Sliding Glass Doors: Contemporary large-format sliders can span entire walls, essentially turning your wall into a window.
Interior Glass Doors: Frosted or clear glass interior doors maintain privacy while allowing light to travel between rooms.
Structural Renovations for Dramatic Results
Adding Dormers
For homes with attic space, dormers add both square footage and natural light. In Vancouver’s heritage neighborhoods, dormers can be designed to complement traditional architecture while modernizing interiors.
Vaulted Ceilings
Opening up a ceiling to the roof line and adding high windows or skylights creates dramatic vertical space and light. This works particularly well in bungalows common throughout Vancouver.
Light Wells and Atriums
For larger renovations, creating an interior courtyard or light well brings natural light to the center of your home – a luxury feature increasingly popular in Vancouver’s urban homes.
Bump-Outs and Additions
Sometimes the best solution is expanding outward. Bay window bump-outs or small additions on south-facing walls can transform dark rooms without a complete home renovation.
Window Treatment Strategies
The right window treatments maximize light when you want it while providing privacy when needed:
- Sheer curtains filter light gently while maintaining daytime privacy
- Top-down bottom-up shades let light in from above while blocking views at eye level
- Motorized shades can be programmed to open with sunrise
- Light-colored fabrics reflect rather than absorb sunlight
- Minimal hardware reduces visual clutter and obstruction
Outdoor Considerations
Don’t forget the exterior:
Trim Overgrown Trees and Shrubs: Vancouver’s lush vegetation can block significant light. Strategic pruning opens up views and allows more light penetration.
Light-Colored Exterior Paint: Surfaces outside your windows reflect light inward. Consider lighter siding or trim around windows.
Reflective Landscaping: Light-colored gravel, concrete pavers, or decorative stones reflect light upward into windows better than dark mulch or grass.
Clean Windows Regularly: Vancouver’s rain and atmospheric moisture leave deposits. Professional window cleaning 2-3 times yearly makes a noticeable difference.
Budget-Friendly Light-Maximizing Updates
Not every solution requires major construction:
- Replace solid interior doors with glass-paneled versions ($300-$800 per door)
- Install larger mirrors strategically ($100-$500)
- Paint walls and ceilings in lighter colors ($500-$2,000 for most rooms)
- Add tubular skylights to small spaces ($500-$1,500 installed)
- Replace heavy window treatments with sheer or light-filtering options ($50-$300 per window)
- Upgrade to larger windows in existing openings ($500-$1,500 per window)
Working with Vancouver Building Codes
Any window, skylight, or structural renovation must comply with local regulations:
- Energy efficiency requirements: New windows must meet specific performance standards
- Egress requirements: Bedroom windows must meet size and accessibility requirements for emergency exit
- Heritage home restrictions: Character homes may have limitations on exterior changes
- Structural considerations: Load-bearing wall removal requires engineering assessment
- Permit requirements: Most window replacements and all structural changes require permits
Working with an experienced Vancouver renovation contractor ensures your project meets all code requirements while achieving your light-maximizing goals.
The Canadoo Approach to Brighter Homes
At Canadoo, we take a holistic approach to maximizing natural light in your renovation:
- Comprehensive Assessment: We evaluate your home’s orientation, existing light sources, and architectural constraints
- Custom Solutions: Every Vancouver home is unique – we design solutions tailored to your specific space and budget
- Quality Materials: We source energy-efficient windows and skylights that perform well in our coastal climate
- Expert Installation: Our experienced team ensures weathertight installation critical for Vancouver’s rainfall
- Integrated Design: We coordinate lighting solutions with your overall renovation vision for cohesive results
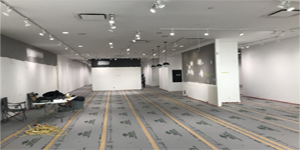
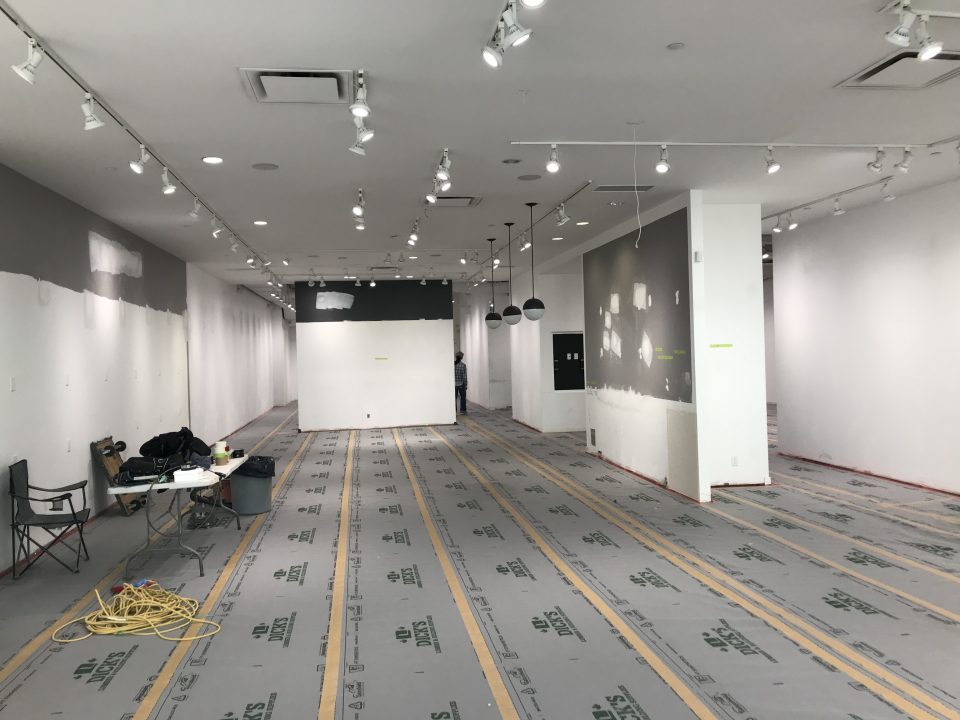
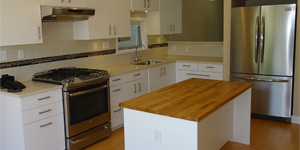
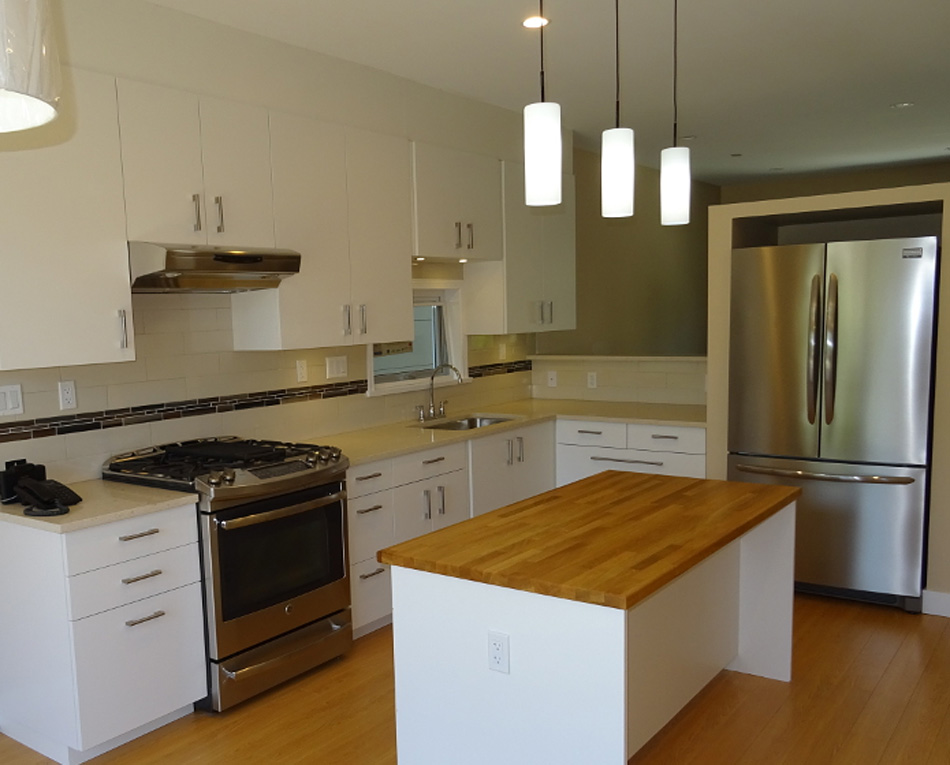
Real Results: Before and After
Over our 30 years serving Vancouver homeowners, we’ve transformed countless dark spaces into light-filled sanctuaries. From opening up cramped Kitsilano kitchens with new skylights to installing floor-to-ceiling windows in East Van living rooms, we’ve seen firsthand how natural light transforms not just spaces, but how families live in them.
Ready to Brighten Your Vancouver Home?
Don’t let Vancouver’s cloudy skies dictate how bright your home feels. With the right renovation strategies, you can create a light-filled space that enhances your daily life and increases your home’s value.
Get Your Free Consultation Today
Our renovation experts will assess your home and provide personalized recommendations for maximizing natural light within your budget. With nearly 30 years of experience transforming Vancouver homes, Canadoo has the expertise to bring your vision to life.
Call us today 604-687-6252 or visit https://canadoo.ca/contact-us/ to schedule your free, no-obligation consultation.
Canadoo has been Vancouver’s trusted home renovation partner since 1995, specializing in kitchens, bathrooms, and complete home transformations. Licensed, insured, and committed to exceptional craftsmanship.